

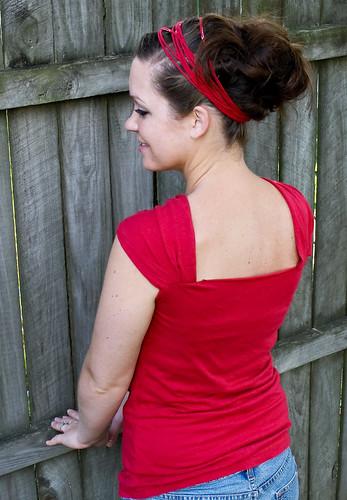
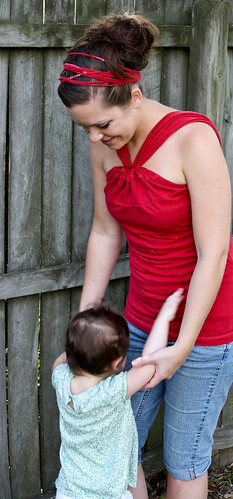
While I was browsing at Anthropologie's website, I came upon this shirt.
 "How cute!" I thought. Then in an
instant, my mind starting going over how to do this myself with a long sleeve shirt. It didn't take me long at all. I used a jersey type of shirt, but you could use a cotton, etc. shirt. There
might have to be a few adjustments though (such as finishing the top seam all the way around). I also added at the bottom how I made the headband from the extra material.
"How cute!" I thought. Then in an
instant, my mind starting going over how to do this myself with a long sleeve shirt. It didn't take me long at all. I used a jersey type of shirt, but you could use a cotton, etc. shirt. There
might have to be a few adjustments though (such as finishing the top seam all the way around). I also added at the bottom how I made the headband from the extra material.

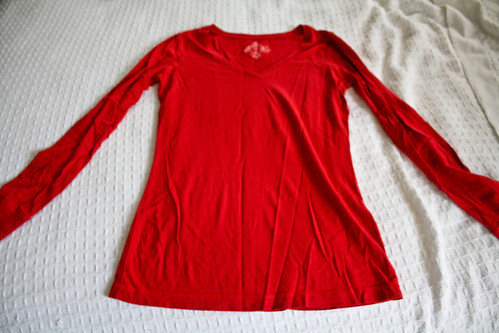
What you need:
-A long sleeve shirt
-Scissors
and the obvious: sewing machine, etc.
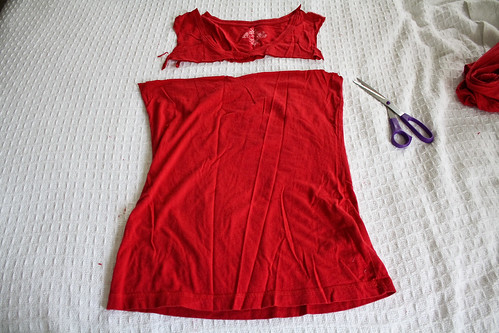
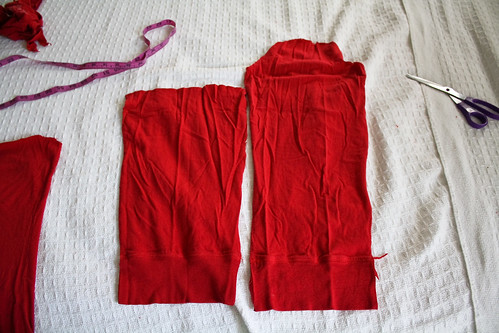
1. Start by cutting the sleeves off.
2. Cut straight across from bottom of one arm hole to the other.
3. Cut sleeves open at the seam
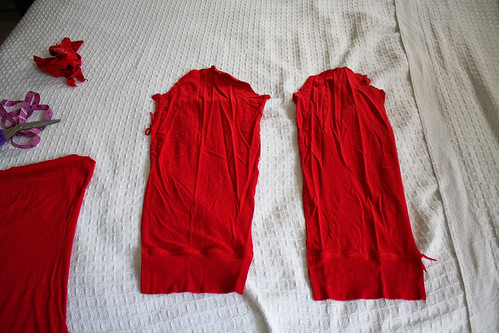
4. Measure length for straps (from top of chest to about the same height down on your back). Cut the sleeves to that length plus a little extra for seam allowance. (mine was 16 inches roughly)
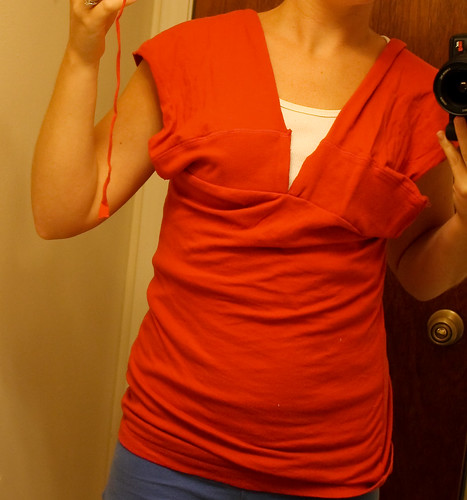
5. a. Pin sleeves to the front, with the edges meeting right at the middle of the shirt. I pinned the cuff part of the sleeves here, but you can put whichever end you would like here. I had seams on the one side from the cuff being sewn on, so I made sure that side would be facing me when worn.
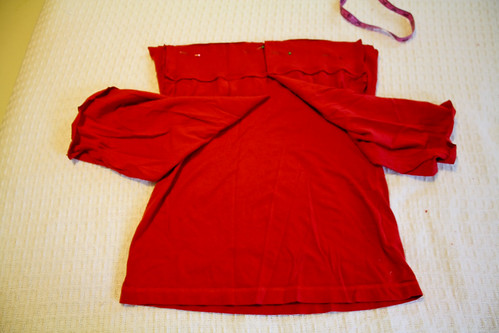
b. Sew the sleeves on. Finish the seams.
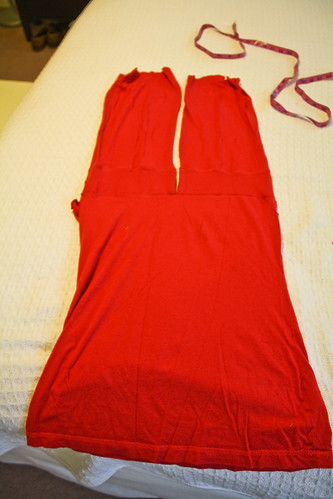
6. Take the other end of sleeves and pin to the back(right sides facing). I gathered them a little, but again, you can do it however you want. Sew them on the back. Finish the seams. (If you made this with a nonjersey shirt, then you might also want to shirr the top, not the sleeve add ons but below it, or sew elastic on the inside to make it snug).

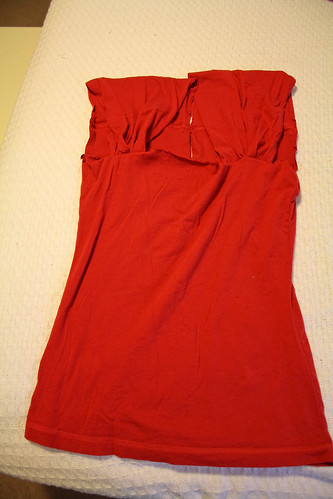
Front and Back
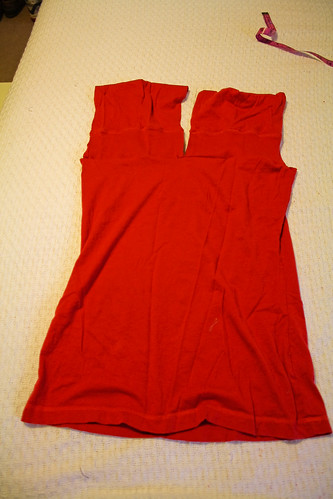
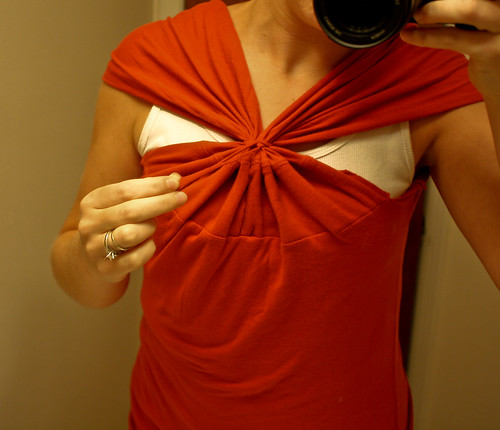
7. Try it on and either mark where you would like to sew it, or you could do what I did and just tie an extra piece of material around it to hold the front together.
Headband:
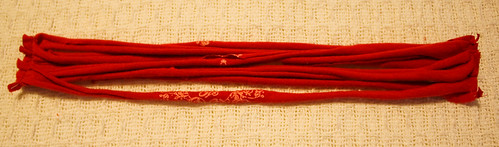
-I cut as long as possible strips from the scrap material. Then I pulled on them to stretch them out. Next, I laid them sort of side by side
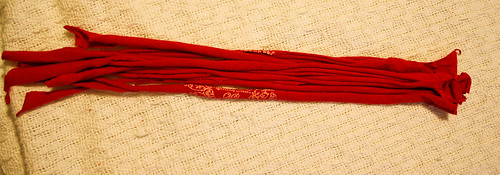
and sewed them together on one end, then the other.
Then I trimmed the ends and put both sides together. I zig zag stitched them together.
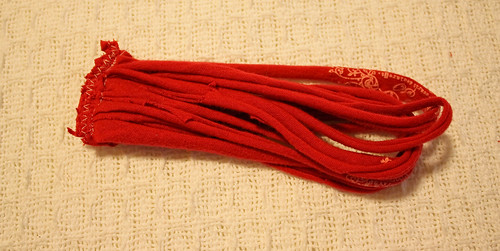
Just make sure they are long enough to fit around your head. If not, you could make a bracelet or rosette pins or whatever with the leftovers.
Version française:
Voici comment procéder:
1. Coupez les manches
2. Coupez tout droit au niveau du bas des emmanchures
3. Ouvrez les manches au niveau des coutures
4. Mesurez la longueur des bretelles (du sommet de la poitrine jusqu’à la même hauteur dans votre dos).
Coupez les manches à cette longueur en rajoutant 2 cm pour les coutures.
5. Epinglez les bretelles sur le devant, en faisant se rencontrer les bords au milieu du t-shirt, endroit contre endroit.
Piquez les manches
6. Epinglez les autres extrémités des manches sur le dos, endroit contre endroit, en les fronçant légèrement. Elles ne doivent pas se toucher.
Piquez
7. Essayez le top et marquez l’endroit où les bretelles doivent être jointes pour obtenir l’effet escompté. Vous pouvez les coudre ou tout simplement utiliser un lien.